Guest Article
Understanding NeRF on a small scale

Ibrahim Farhat
May 6, 2024


Introduction:
Neural Radiance Field (NeRF) research has attracted significant attention recently, with 3D modelling, virtual/augmented reality, and visual effects driving its application. While current NeRF implementations can produce high quality visual results. The first NeRF model proposed by Mildenhall et al in their paper NeRF:Representing Scenes as Neural Radiance Fields for View Synthesis is the first stone that triggered the mass research in this field. Understanding the basic concepts of this work is crucial to understand novelty in the field. So, in this article, the reader will gain a practical explanation of NeRF on a small scale, which covers most of the concepts of the original paper.
Basic concepts:
Before diving into the explanation of NeRF, I would like you to understand two basic concepts in the volumetric world: scene representation and volumetric rendering.
Scene representation: In volumetric graphics, scene representations can be categorized into two main types: explicit and implicit representations. Each type has a distinct way of describing the geometry and volume of a scene.
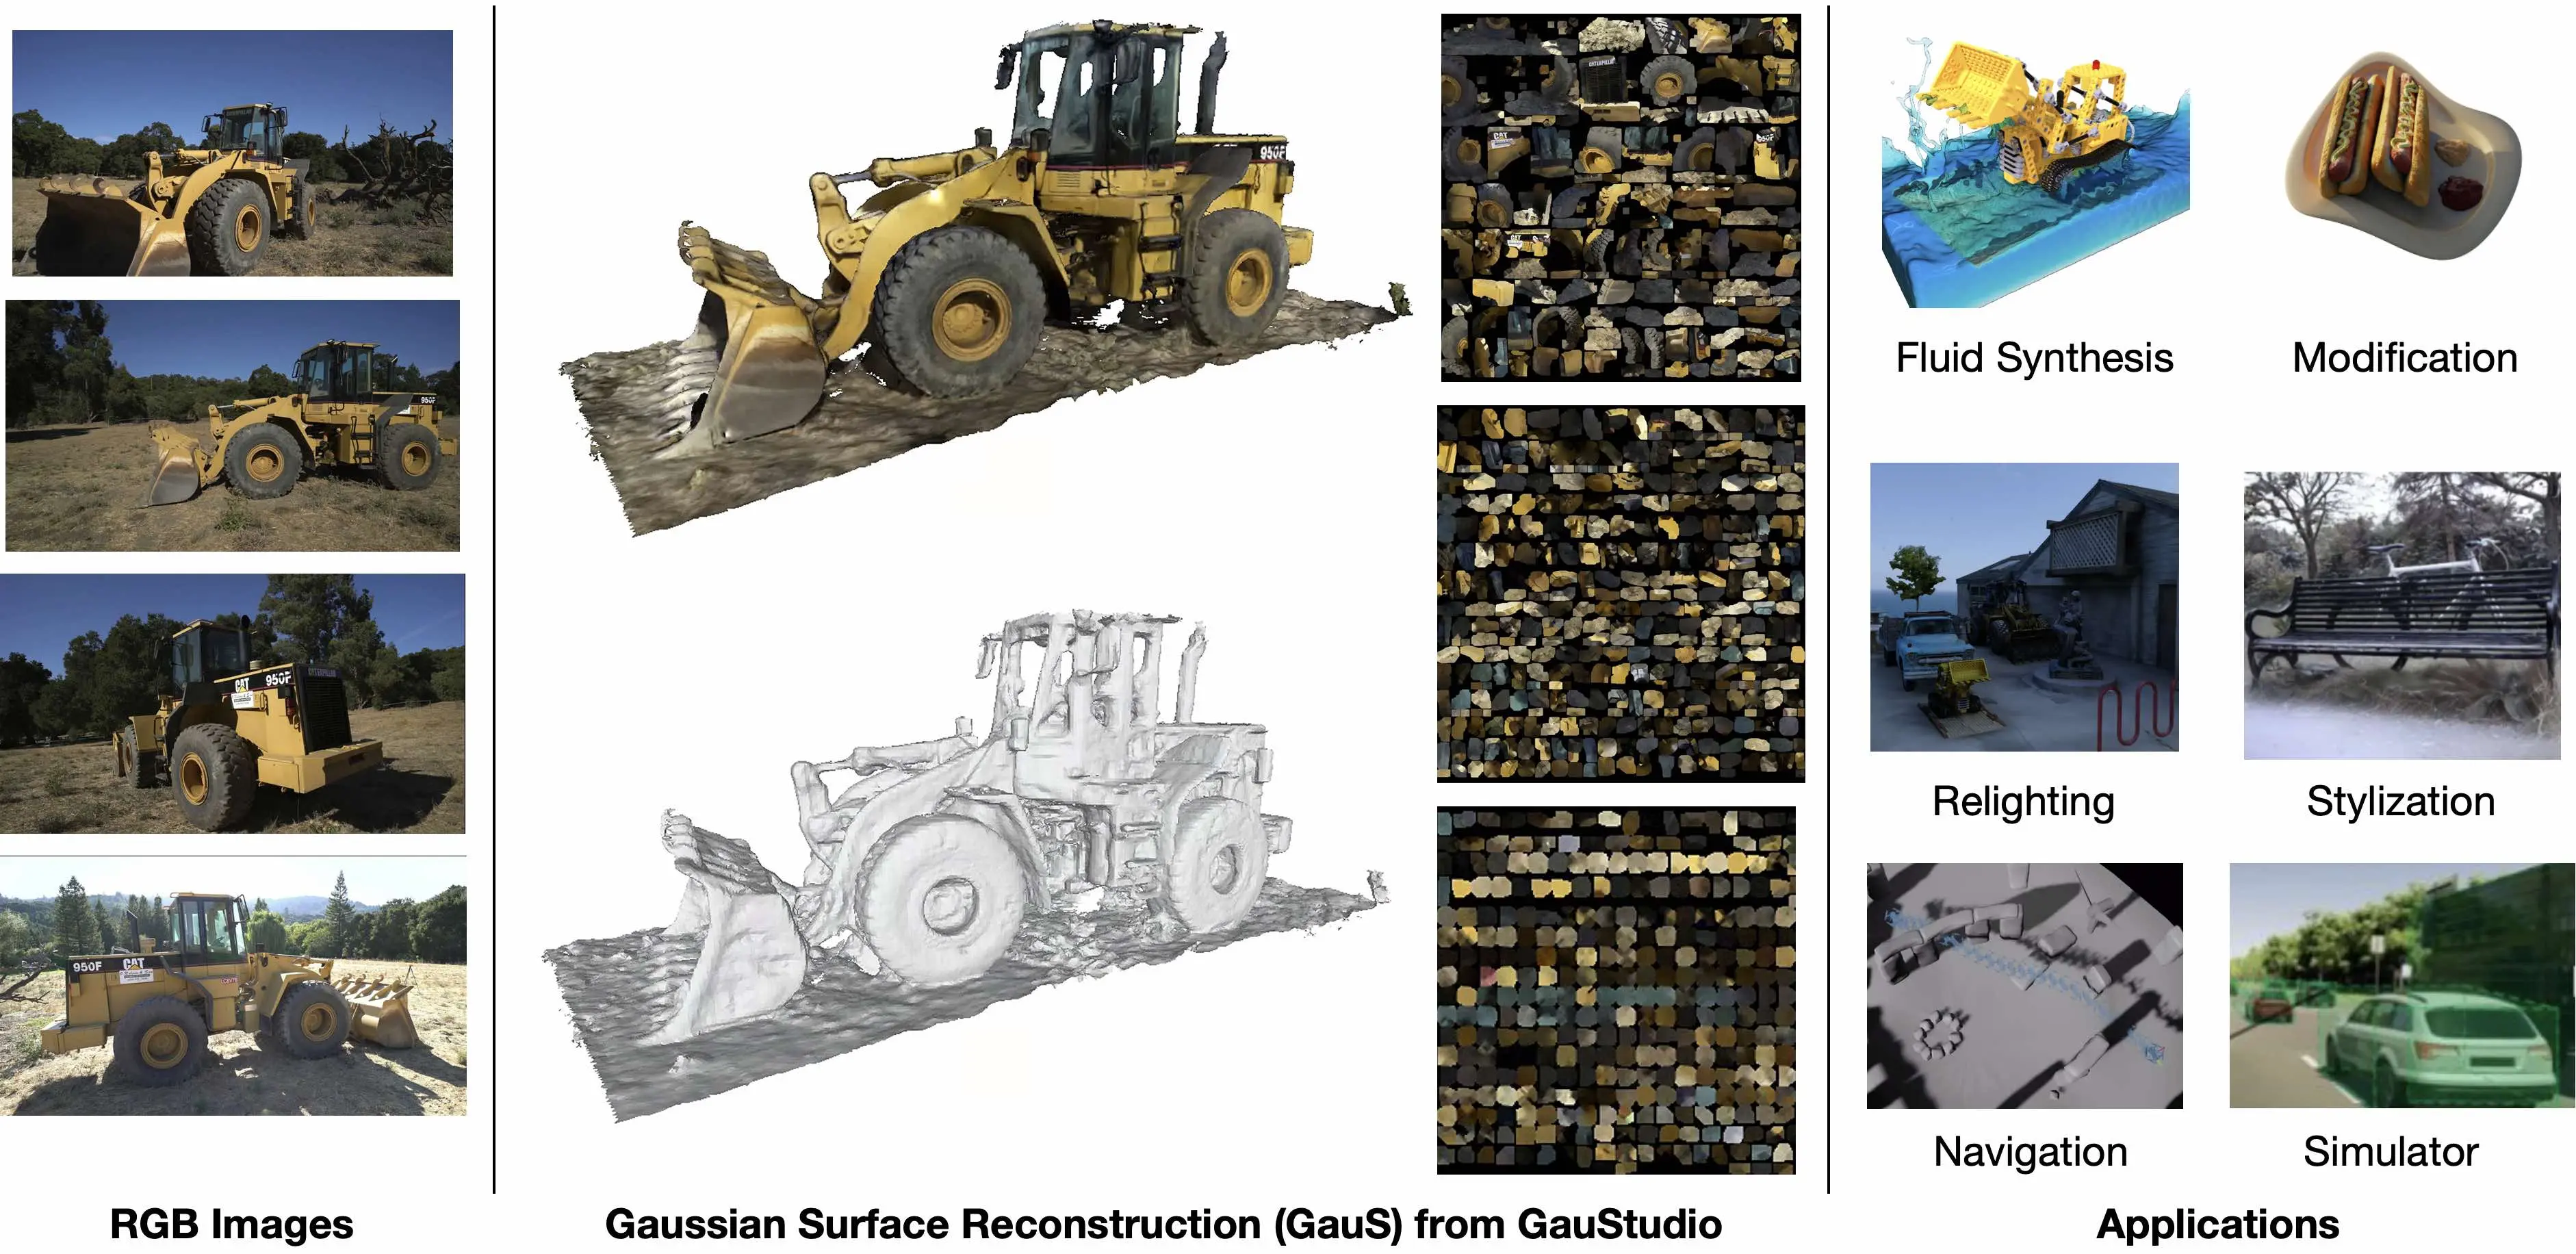
Explicit scene representation: Explicit representations directly describe the geometry and surface of objects using numbered elements. These elements are usually defined in a way that explicitly outlines the characteristic of the objects within the scene. Point Cloud and Voxel Grids are the most famous explicit representation of 3D scene as shown in Fig.1
Point Clouds: These are collections of points in space, where each point represents a part of the surface or volume, explicitly defining the structure through discrete locations.
Voxel Grids: Regular grids and sparse voxel octrees directly represent volume by dividing space into discrete, small volumetric elements (voxels).

Fig 1: Explicit representation: Point Cloud and Mesh
Implicit scene representation: Implicit representations describe a scene through a functions or fields that define where the surface of an object exists based on the evaluation of these functions at any point in space.
Sign Distance Functions (SDF), describe the surface implicitly by a function that gives the shortest distance from any point in space to the nearest surface, with the surface itself represented where the distance is zero.
Function-based Representations: We use functions to define surfaces implicitly. As an example is a function that defines the colors of every point in the 3D space.
Volumetric Rendering: Ray marching and Alpha-blending

Fig.3: Volumetric rendering
Ray marching: is a technique used to render 3D scenes by progressively stepping along a ray and sampling the volume of data through which it passes, as it can be seen in the figure above. This method is suited to volumetric rendering, including both explicit and implicit volumetric representations.
In ray marching, rays are cast from the camera (or eye position) into the scene for each pixel on the view plane. As a ray advances into the volume, it samples data at predefined intervals along its path. Here are the key steps involved in ray marching:
Initialization: A ray is cast from the camera through a pixel into the scene.
Stepping: The ray advances in steps through the volume. At each step, the volume data is sampled.
Sample Evaluation: At each step, the sampled value is used to determine properties such as color, density, and opacity at that point in the volume. This is where the distinction between explicit and implicit representations comes into play
For explicit volumes (like point cloud), the sampled value is often directly retrieved from the data stored in the point cloud data.
For implicit volumes (like SDFs), the value is computed using the implicit function that defines the volume.
Accumulation: Properties from each sampled point are accumulated to compute the final color and opacity of the ray, which will correspond to the pixel color on the view plane.
Termination: The ray marching continues until the ray exits the volume or the accumulated opacity reaches a threshold, indicating full opacity (no further contributions are visible).
Alpha Blending: Alpha blending is used in conjunction with ray marching to accumulate the color contributions from samples along the ray. It simulates the absorption and scattering of light as it travels through the volume. Each sample point contributes a certain color and a certain amount of opacity (alpha value), which affects the visibility of subsequent samples. The typical compositing formula used in alpha blending is:
Where:
C_src is the color of the source sample.α is the opacity of the source sample.
C_dst is the current accumulated color along the ray.
C_out is the new accumulated color after blending the source sample.
As the ray marches through the volume, alpha blending is performed iteratively:
A sample’s color and alpha are determined based on the volume data.
This color is blended with the accumulated color from previous samples using the alpha blending formula.
The new accumulated color becomes C_dst for the next sample along the ray.
This process is akin to layering semi-transparent paints, where each layer can obscure the layers behind it to varying degrees.
Impact on Explicit vs Implicit Representations
Explicit Volumes: Ray marching with alpha blending can directly access the discrete data points, making the computation straightforward but potentially memory-intensive due to the dense storage of points (for point clouds).
Implicit Volumes: Here, alpha blending is combined with function evaluation. This means that for every point in the space you have to query the function to get the color and density information which leads to an increased computational complexity.
What is a NeRF?
A neural radiance field (NeRF) is a fully-connected neural network that creates an implicit representation of complex 3D scenes, based on a partial set of 2D images as it can be seen in Fig.4.
It learns to predict for every point in the 3D space:
View-dependent color: Red, Green, Blue
Density: representing the transparency of the point=>
This means that we have a NN for every scene

Fig.4: Training a NeRF model.
The neural network model utilized in this NeRF implementation is a fully-connected dense network. It processes five inputs per point in 3D space: three for the spatial coordinates (x, y, z) and two additional inputs for the viewing direction. The network produces four outputs for each point: three correspond to the RGB (red, green, blue) color channels, and one for the density of the point, as it can be seen in the below figure.

Fig.5: Neural Network input output

Fig.6: summary of the training process.
The figure above illustrates the process involved in Neural Radiance Fields (NeRF) for reconstructing 3D scenes. The process begins with data collection, where you gather the necessary input images of the scene from various angles. Each image is then associated with its corresponding viewing direction information. Next, this combined data is input into two distinct types of Neural Networks utilized in NeRF:
Coarse Neural Network: This network initially processes the data to create a rough approximation of the 3D scene. It helps in establishing a baseline geometry and volume density from the input images and viewing directions.
Fine Neural Network: Following the coarse estimation, the fine neural network refines these preliminary outputs. It enhances the details and accuracy of the scene reconstruction, producing higher resolution and more precise radiance fields.
Finally, after several iterations, the process generates an implicit representation of the 3D scene. This allows for the rendering of novel views, enabling observers to visualize the scene from perspectives not originally captured in the input images.
Pytorch Implementation for Tiny NeRF:
This GitHub repository hosts the tiny-NeRF Pytorch implementation. You can access the code at this GitHub repo. I recommend setting up the environment and training the model for the Lego scene example (provided with the code) before finishing the article!
This Tiny-NeRF implementation draws inspiration from the Tiny-NeRF model mentioned in the original NeRF paper and serves as a simplified version maintaining the same architectural framework. The table below outlines the primary differences between the two implementations. Essentially, this version simplifies the process by eliminating the hierarchical sampling technique and employing a single neural network, rather than the two networks used in the original setup.

Understanding the data flow:

Fig4: Data flow for one training iteration
Step #1:
In the initial phase, the software will create various projection plans based on the camera position data provided as input. For each camera viewing direction we generate 64 frames, each with dimensions of 100x100 pixels. This results in a total of 64x100x100 pixels for each of the x, y, and z coordinates. These planes represent the actual world positions as seen from the input viewing angle. The focal length of the camera, which influences the depth and perspective of the rays is used to get accurate x,y z positions for every pixel.pts_flat, z_vals = torch_get_rays_sample_space(H, W, focal, pose, near, far, N_samples, rand=True) # sampling 3D space
Step #2:
In the second step, the software flattens the planes for each coordinate position — x, y, and z. This results in three vectors, each containing 640,000 elements.
Step #3:
In the third step, the position vectors are fed into the positional encoding process, which elevates the position information to a higher dimension. Using the below function, this process introduces 36 new dimensions for the x, y, and z coordinates. These dimensions are derived by applying cosine and sine functions to the x, y, and z values. This technique enables the model to capture high-frequency details in the final 3D model, enhancing its spatial resolution and detail.
Step #4:In the fourth step, the inputs are fed into a NeRF model, defined as shown in the below code block, for training. In this implementation, the NeRF is dense neural network that has 8 layers with 256 width each. For every position, the NeRF model outputs four values corresponding to the red (R), green (G), blue (B) color channels, and the density of that specific point in space.
Step #5:
The outputs from the NeRF model are organized into four vectors: three for the RGB color channels and one for density. These vectors are reshaped to represent a sampled 3D space, with each element consisting of 64 frames, each frame sized 100x100. This results in a four-dimensional array with dimensions 4x64x100x100, representing the model’s predictions for every point (x, y, z) in the 3D space from a specific viewing direction.
Step #6:
In this step, rendering is performed using ray marching combined with alpha-blending techniques. It uses the segma_a and rgb outputs of the NeRF to render a 2D frame for the input view (stored in z_vals). In addition, it outputs the depth and accumulation map.
Step #7:
The final step involves computing the loss using Mean Squared Error (MSE) combined with gradient descent is employed to update the weights of the model, as it can be seen in the below code.
From step #1 to step #7, one complete iteration is conducted. To achieve a satisfactory scene representation, this tiny-NeRF implementation typically requires at least 1,000 iterations. It’s important to note that the original NeRF model requires up to 100,000 iterations to achieve a detailed and accurate scene representation. This latter highlights the computational intensity and scale of training required for NeRF models, which is one of challenges of NeRFs.
Conclusion & Future works:
Neural Radiance Fields (NeRF) represent a significant advancement in volumetric rendering, offering solutions to traditional challenges such as large 3D model sizes and capturing view-dependent color variations. However, NeRF introduces its own set of challenges, primarily due to its reliance on intensive computational resources. Training a NeRF model is a resource-intensive process, requiring high-performance GPUs and substantial time, which can span several hours to days depending on scene complexity. This tiny NeRF implementation in PyTorch provides a practical insight into how a NeRF model is trained and offers a foundational understanding of NeRF on a smaller scale. However, it does not encompass all features of the original NeRF framework. Many new models have emerged since NeRF, each addressing different challenges; one such model is 3D Gaussian Splatting (3DGS), which excels in both rendering quality and speed. Stay tuned for another article on implementing 3DGS on a small scale, which will further explore this high-performing model.
Written by Ibrahim Farhat
Ibrahim Farhat Is a Researcher at the Digital Sciences Research Center at the Technology Innovation Institute (TII), Abu Dhabi.
More from Ibrahim Farhat